GitHub Pages is a free and beginner-friendly static site hosting service often used to host blogs, landing pages, personal portfolios, and even resumes.
Hosting your portfolio on GitHub Pages means you don't need to worry about web hosting costs, website downtimes, or purchasing a domain. This guide walks you through everything you need to know to launch your portfolio today.
Why Use GitHub Pages for a Portfolio?
- No hosting costs
- No need for backend management
- Free GitHub.io subdomain
- Reliable and fast deployment
- Ideal for static sites
Common Questions Answered
1. Is GitHub Pages good for a portfolio?
Yes! Hosting your portfolio on GitHub Pages is the most common use-case, given that GitHub is generally used by developers.
2. What types of portfolios can you host on GitHub Pages?
GitHub Pages is perfect for portfolios of:
- Web developers
- UI/UX designers
- Videographers
- Photographers
- Any static website
3. What are the limitations of GitHub Pages?
- No backend or database support
- No server-side functionality
- Limited to static HTML, CSS, and JavaScript
4. Can you use a custom domain with GitHub Pages?
Yes! You can link a custom domain instead of using yourusername.github.io.
Step 1: Set Up Your Development Environment
Install Visual Studio Code (VS Code)
Why VS Code? It's a free, lightweight code editor with built in Git support--perfect for working with GitHub Pages.
- Go to Visual Studio Code and download for your operating system (Windows, MacOS, Linux).
- Follow the official installation steps to set it up on your computer.
Step 2: Create a GitHub Account & Repository
Sign Up for GitHub (Free)
- Visit GitHub and create an account.
- Click New Repository and name it something like
my-portfolio. - Select Public check Add a README file.
Connect VS Code to GitHub
- Open VS Code and click on Source Control
- Click Sign in with GitHub and follow the authentication steps.
Step 3: Create and Upload Your Portfolio
Skip this step if you already have a portfolio website.
Build a Basic HTML Portfolio
The aim for this guide is to get your website publicly available through GitHub Pages.
- Open VS Code and create a new folder (call it
my-portfolio). - Inside the folder, create an
index.htmlfile. - Use the following HTML template:
<!DOCTYPE html>
<html lang="en">
<head>
    <meta charset="UTF-8">
    <meta name="viewport" content="width=device-width, initial-scale=1.0">
    <title>My Portfolio</title>
</head>
<body>
    <h1>Welcome to My Portfolio</h1>
    <p>Hi, I'm [Your Name]. Check out my projects below.</p>
</body>
</html>
- Save the file.
Tip:
To generate your own HTML Boilerplate, inside your index.html file enter ! and select the first option from the opened dialouge box.
Step 4: Upload Your Website to GitHub
Push Your Code to GitHub
- Open Terminal > New Terminal in VS Code.
- Run the following commands:
git init
git add .
git commit -m "Initial commit"
git branch -M main
git remote add origin https://github.com/{your-username}/my-portfolio.git
git push -u origin main
Step 5: Enable GitHub Pages & Go Live
- Go to GitHub > Your Repository > Settings > Pages.
- Under branch, select
mainand click save. - Wait a few minutes, then click Visit Site to see your portfolio live at:
https://{your-username}.github.io/my-portfolio/
FAQs: Optimizing & Customizing Your Portfolio
1. How Do I Add a Custom Domain?
Adding a custom domain requires you to purchase a domain.
- Buy a domain from Namecheap, GoDaddy, or other providers.
- In your repository, go to Settings > Pages, then add your domain.
- Configure your DNS settings with an
A recordpointing to GitHub Pages.
2. Can I Use GitHub Pages for a React or Next.js Portfolio?
Yes! It is possible to host static React sites using npm run build and publishing the /build folder.
3. How Do I Improve My Portfolio's SEO?
Improving SEO for your portfolio starts by following these standard SEO practices:
- Add meta descriptions, alt text, and structured headings.
- Use fast-loading images and mobile-friendly designs.
Tip:
To make your images load faster, convert them to webp to reduce their file size.
Portfolio Examples Hosted By GitHub Pages
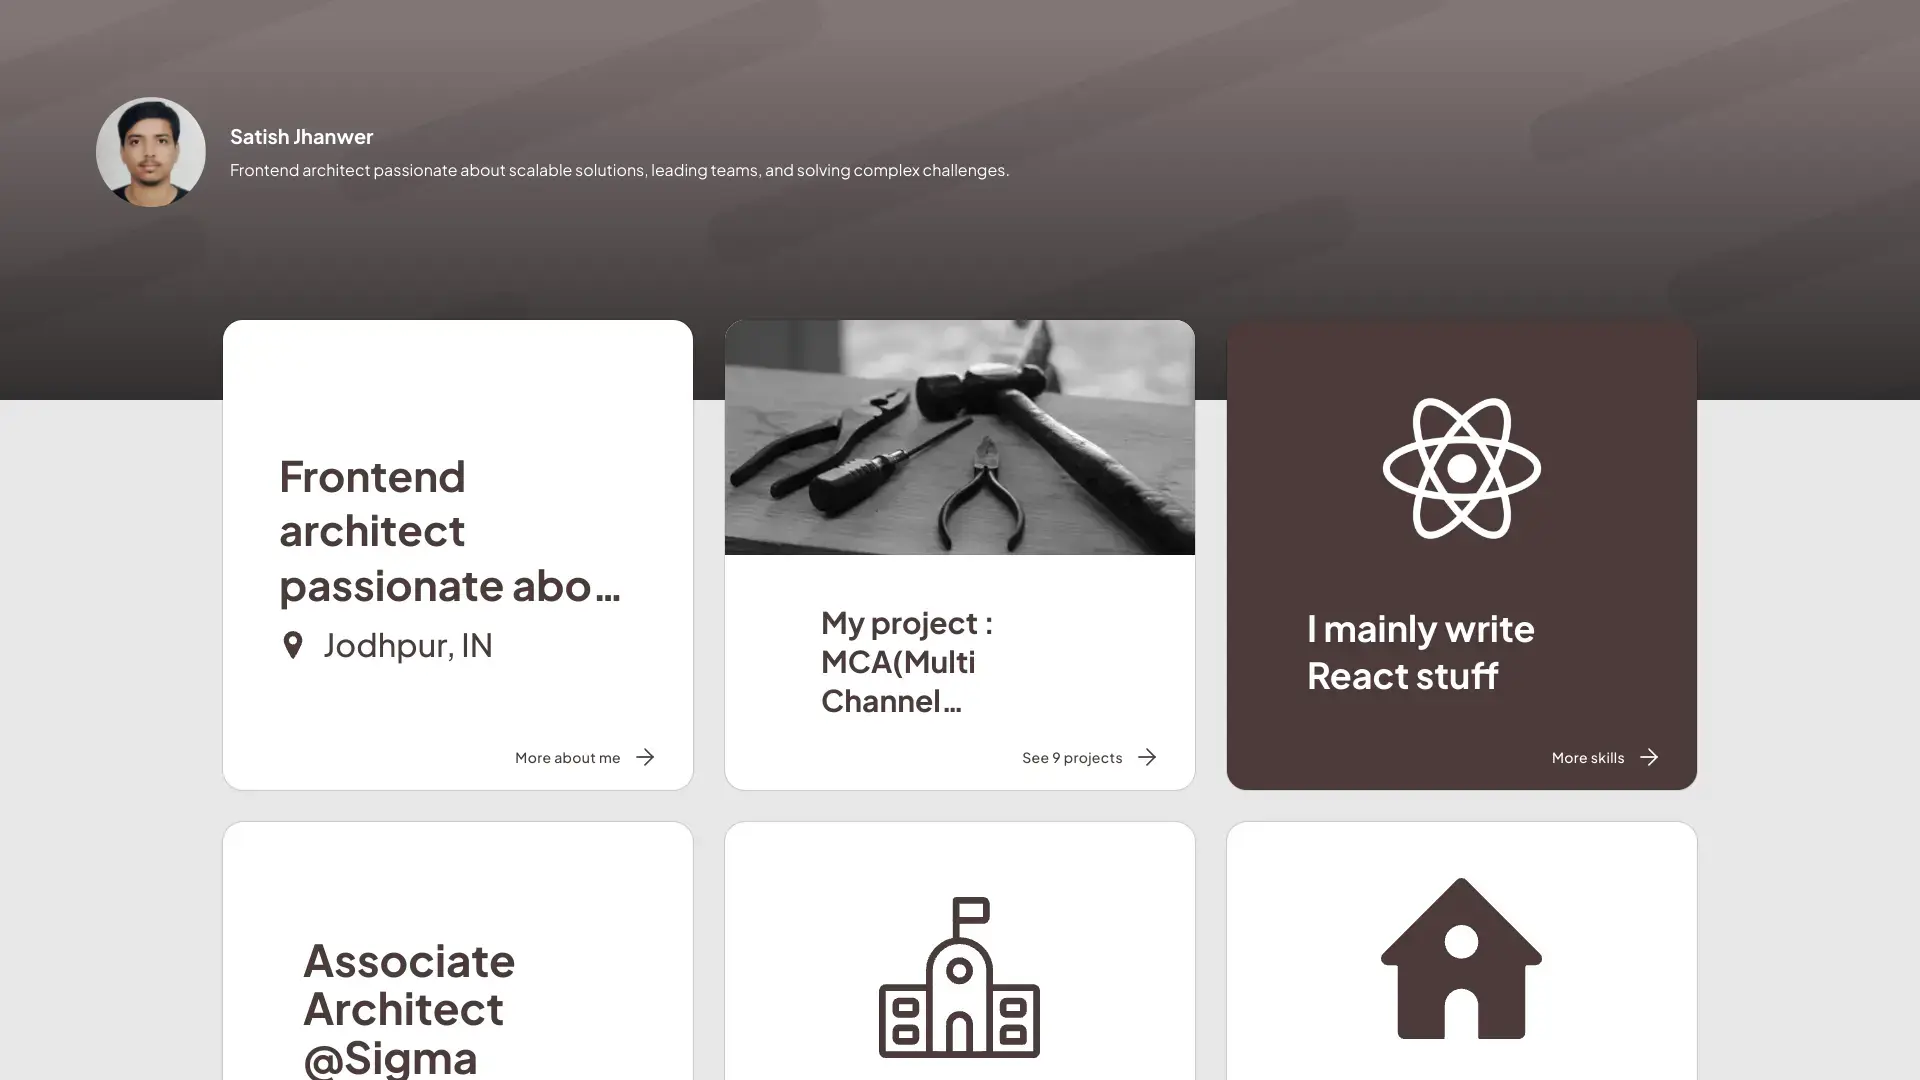
Satish Jhanwer's portfolio

Sam Mobisa's Portfolio

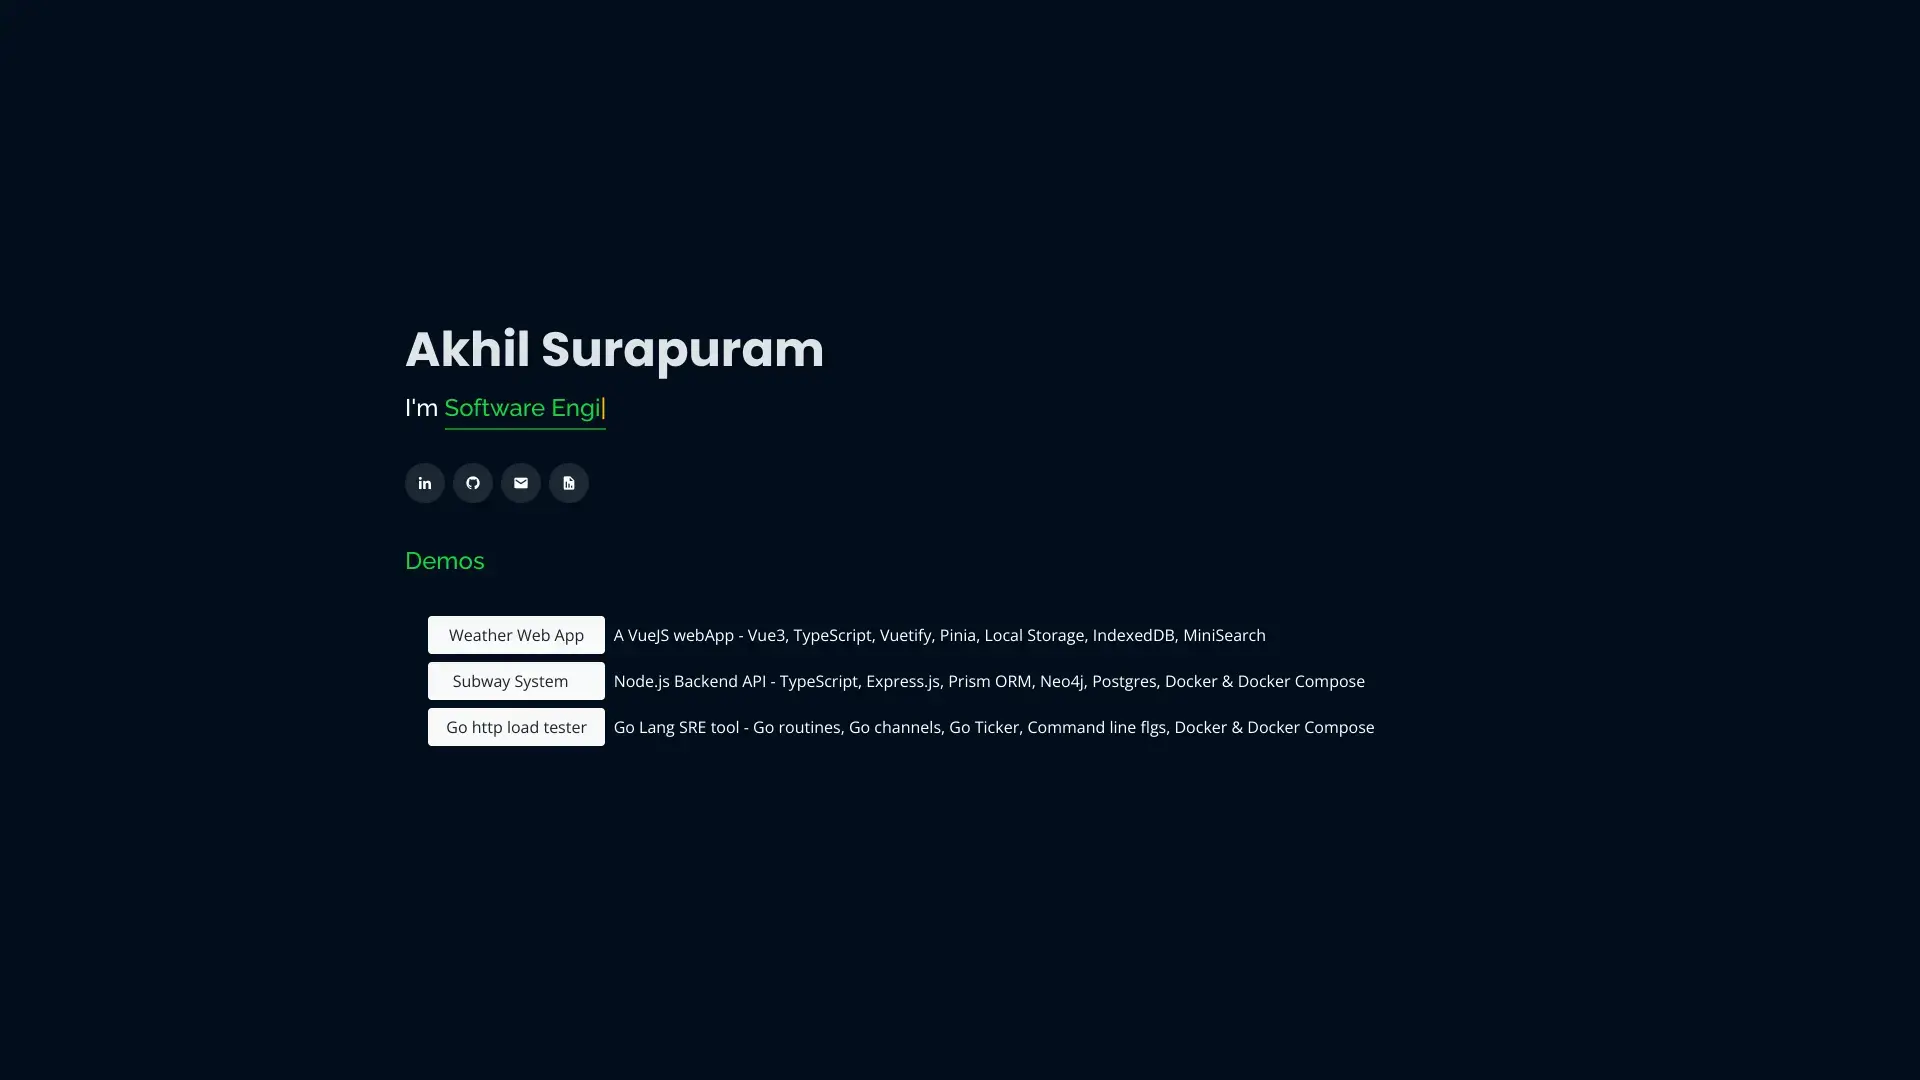
Akhil Surapuram's Portfolio

Vasudev Soni's Portfolio

Want to see more real portfolios built by developers? Browse featured portfolios on webportfolios.dev for inspiration!
Conclusion
Your GitHub Pages portfolio is now publicly available online for free! But launching it is just the beginning--now it's time to make it your own. Customize your portfolio's design, add your personal projects, and showcase your skills to stand out.
A great portfolio isn't just about hosting--it's about what you put in it. Start building projects, refining your work, and updating your portfolio as you grow.